Would you like for us to build a radio telescope at your location? Our team is able to ship to you and install one or more of our radio telescopes – here what you need to know beforehand.
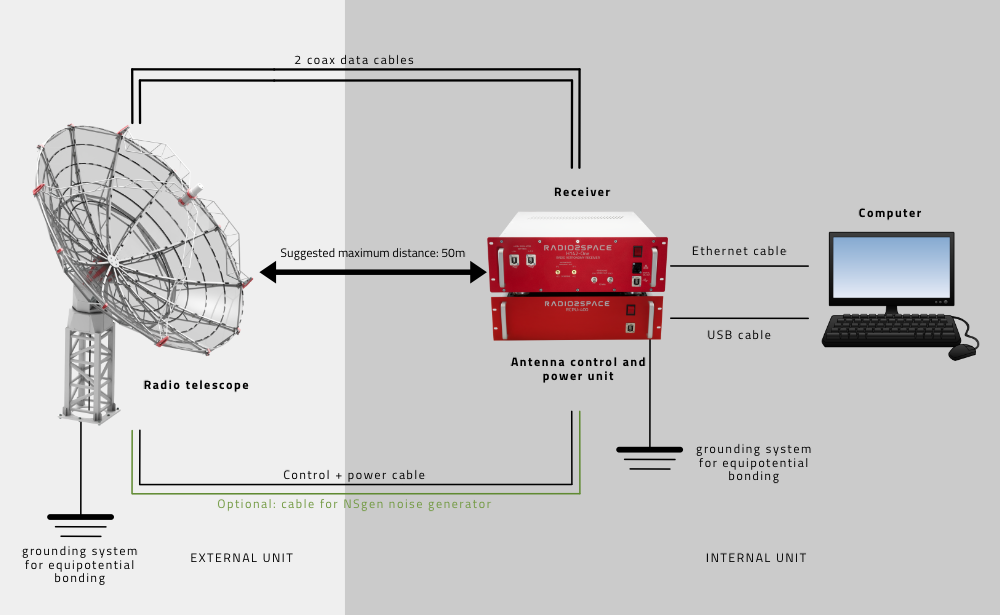
Build a radio telescope: radio telescope schematics
Radio2Space radio telescopes are composed of components to be installed outside (radio telescope antenna and mount) and others to be installed inside (receiver, antenna control unit, other accessories and control software). All elements must be properly powered and must be connected to each other with special data cables provided with the radio telescope. Here you can see the general schematics of the elements composing Radio2Space radio telescopes.

Build a radio telescope: radio telescope schematics
Power and data cables
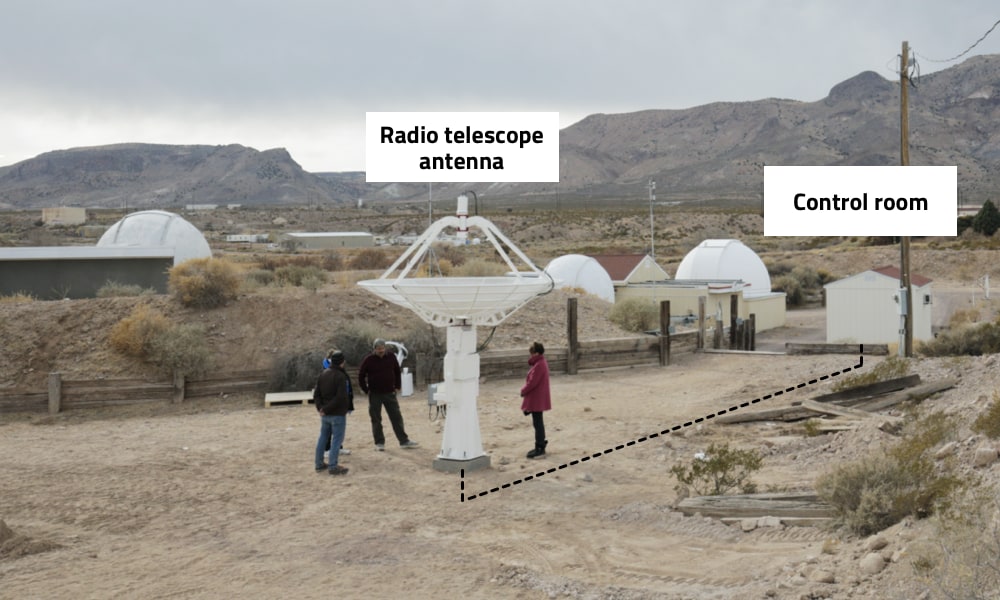
The antenna has to be connected to the radio telescope control room with an underground pipe where power and data cables have to be inserted. In order to avoid too high gain losses, we suggest having the control room closer than 50 meters from the radio telescope antenna. If you have longer distances, we recommend the optional Radio over Fiber Optics kit.

Power and data cables
Build a radio telescope: concrete base
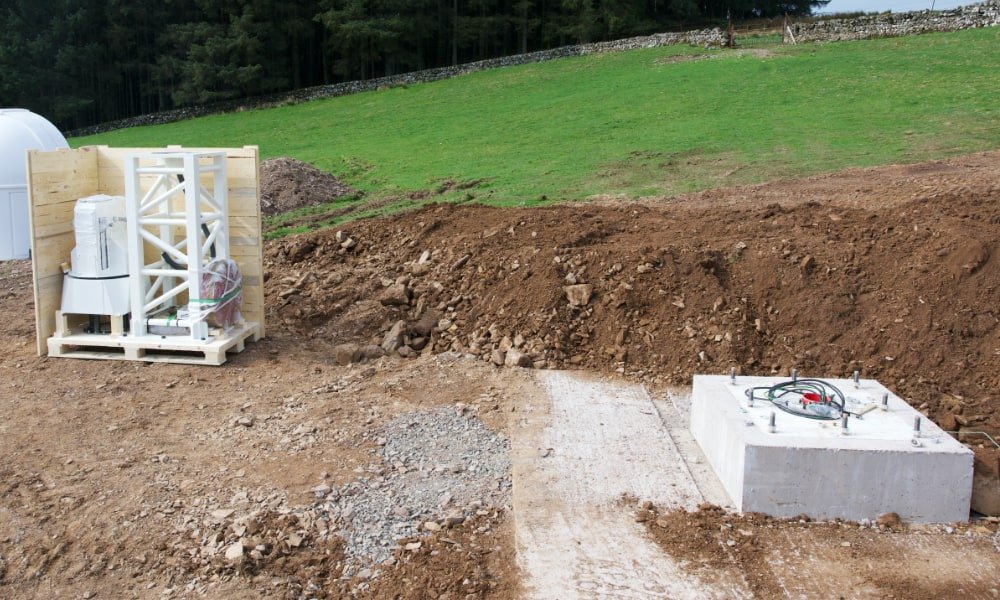
In order to guarantee utmost safety and stability, it is necessary to install the radio telescopes (except for the SPIDER 230C model that comes with a field tripod) on a reinforced concrete base that has to be prepared by the customer (we can provide the concrete base suggested design to the customer). The radio telescope is equipped with a dedicated column for ground anchorage to support the forces generated by large antenna.

Build a radio telescope: concrete base
Build a radio telescope: in the control room
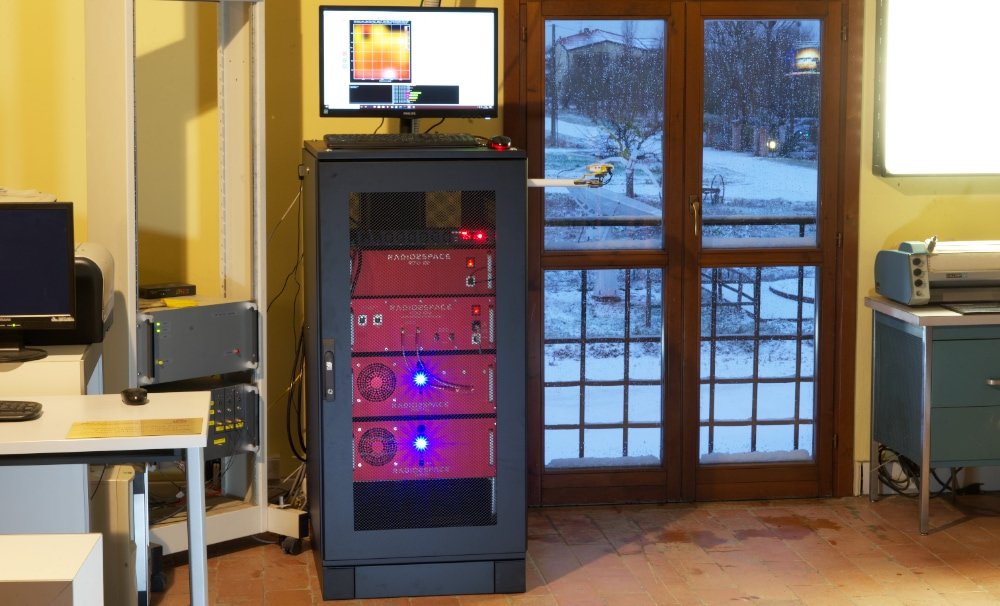
In the control room, receivers and various devices can be set on a table or in a standard 19″ rack. If you haven’t a rack, we can supply you our RK19 rack that comes with fans for temperature control and remote power on/off. The entire radio telescope is controlled with our RadioUniversePRO software that has to be installed on a Windows computer that is not included with the radio telescope. If you haven’t a PC, we can provide you with our CMP-19 computer for radio telescopes.

Build a radio telescope: in the control room
Security and environmental control
Radio2Space radio telescopes (except for 230C model) are designed to be functional also in bad weather and windy conditions. However, the radio telescope has to be parked in Stow position (with the antenna facing the Zenith) when the wind exceed 50 km/h. The optional UltraSonic Wind Sensor continuously monitor the speed and direction of the wind and, if the wind speed exceeds 50 km/h, automatically parks the radio telescope in safety position (thus reducing the wind load on the antenna).
If you like for us to build a radio telescope at your location and you want more info, click here to contact us. |
.
